
Let’s be honest—closing your swimming pool for winter isn’t exactly a celebration, but if you’ve ever faced a green pool during spring’s first heatwave, you know it’s more than worth the effort. Whether you’re dealing with a classic in ground pool or one of those easy-in, easy-out above ground pools, skipping or hurrying this critical process is a surefire recipe for expensive headaches later. Our team has seen it all—and trust us, there’s nothing fun about repairing cracked pool equipment or scrubbing algae off the pool floor when you could be splashing around instead.
Armed with the right pool cover, essential pool equipment, and the right batch of winter pool chemicals, you’ll put up a solid wall between your outdoor pool and the chaos brought by freezing temperatures and months of inactivity. Ready to treat your investment like the prized backyard oasis it truly is? Here’s how we guide our clients—step by step—so you can keep your ground pool in top shape, regardless of what winter throws your way.
Why Winterizing Your Pool Matters
Let’s call it what it is: winterizing isn’t just an “annual to-do.” It’s your tactical retreat—a moment to outsmart the elements and keep both above ground pool and in ground pool owners out of the repair shop come March. If your pool water is left untreated, ice expansion can crack tiles, stain pool walls, destroy pool lines, and even warp the very pool floor underneath your feet (and wallet). And don’t get us started on what unchecked algae growth can do—it’ll turn your investment into a science project.
We’ve worked with plenty of folks who underestimate the domino effect of poor water chemistry. It’s not just the pool cover that stands between you and disaster: every bit of balance, every touch of pool antifreeze, every detail counts. Different pools need nuanced winter protection. For instance, where you position your drain plug and how you anchor your pool cover varies—one size doesn’t fit all, and you’d do well to remember that.
Step 1: Start Prepping One Week in Advance
Monitor Water Temperature
First things first: get cozy with your thermometer. Pool water should sit under 65°F before you even think about breaking out the pool antifreeze or wrangling with the drain plug. If you jump the gun in early autumn, lingering warmth becomes the perfect stage for algae growth—no ‘thank you’ from us. Wait too long, though, and your pool pump and lines might meet freezing temperatures before you can say “polar vortex.”
Add a Phosphate Remover

Our tip for the perfectionist: take the time to use a phosphate remover (trusty old Aquamax Phosphate Remover 9000 Ultra Strong is great) a week ahead. Why? Phosphates feed algae, and you want them gone well before your pool water goes under wraps. Let that cleaner do its dance through your pool lines and settle in; trust us, future-you will thank you.
Starting in advance gives you wiggle room to adjust, and that peace of mind is just as important as any other pool accessory in your arsenal.
Step 2: Clean Your Pool Thoroughly

You wouldn’t store dirty dishes in the cupboard, would you? Leaves, bugs, and that mystery crud? It all needs to go. Leftover debris will fester under your pool cover, inviting algae growth and making your spring pool parties an uphill battle.
Here’s our step-by-step:
- Skim the surface and corners obsessively. Leaves do love to hide.
- Vacuum the pool floor—and don’t neglect that narrow border along the pool walls.
- Brush down everything. Yes, everything. Those annoying spores love sneaky pockets and shaded nooks—especially in textured in ground pools.
Pro tip: A robotic cleaner makes light work of this, while a solid telescopic net helps you vanquish stragglers. Investing in quality pool accessories upfront means you’re not spending your weekend troubleshooting a clogged pool pump or pool filter—one of those lessons most of us learn the hard way.
Clean now, relax later. Seriously—you’ll be so glad you did.
Step 3: Balance Your Water Chemistry
If you think a little “close enough” will cut it… think again. Proper water chemistry is your invisible shield, preserving everything from the pool equipment and drain plug to the finish on your pool floor. Not only does this prevent corrosion and scaling, it helps your winter pool chemicals actually do what they’re supposed to do.
Double-check and balance:
- pH: 7.2–7.4 (Prevents scale and cloudiness)
- Alkalinity: 60–120 ppm (Buffers pH swings; avoids etched surfaces)
- Calcium Hardness: 200–400 ppm (Protects finishes in those lovely in ground pools)
- Cyanuric Acid: 20–40 ppm (Saves chlorine from autumn sunlight)
If your numbers are off, make adjustments in small steps. We often tell our clients: “Extreme swings mean extreme consequences—for your pool and your sanity.” Precise adjustments now make next spring’s reopening a walk in the park, not a science experiment with your pool walls.
Step 4: Shock the Pool
Ready for a jolt of honesty? Shocking the pool is everyone’s least favorite chore, but skipping it will land you in hot water (or, erm, green pool water) later. You’ll want to shock 48 hours before your freeze-and-seal finale—gives everything time to settle and avoids chemical drama.
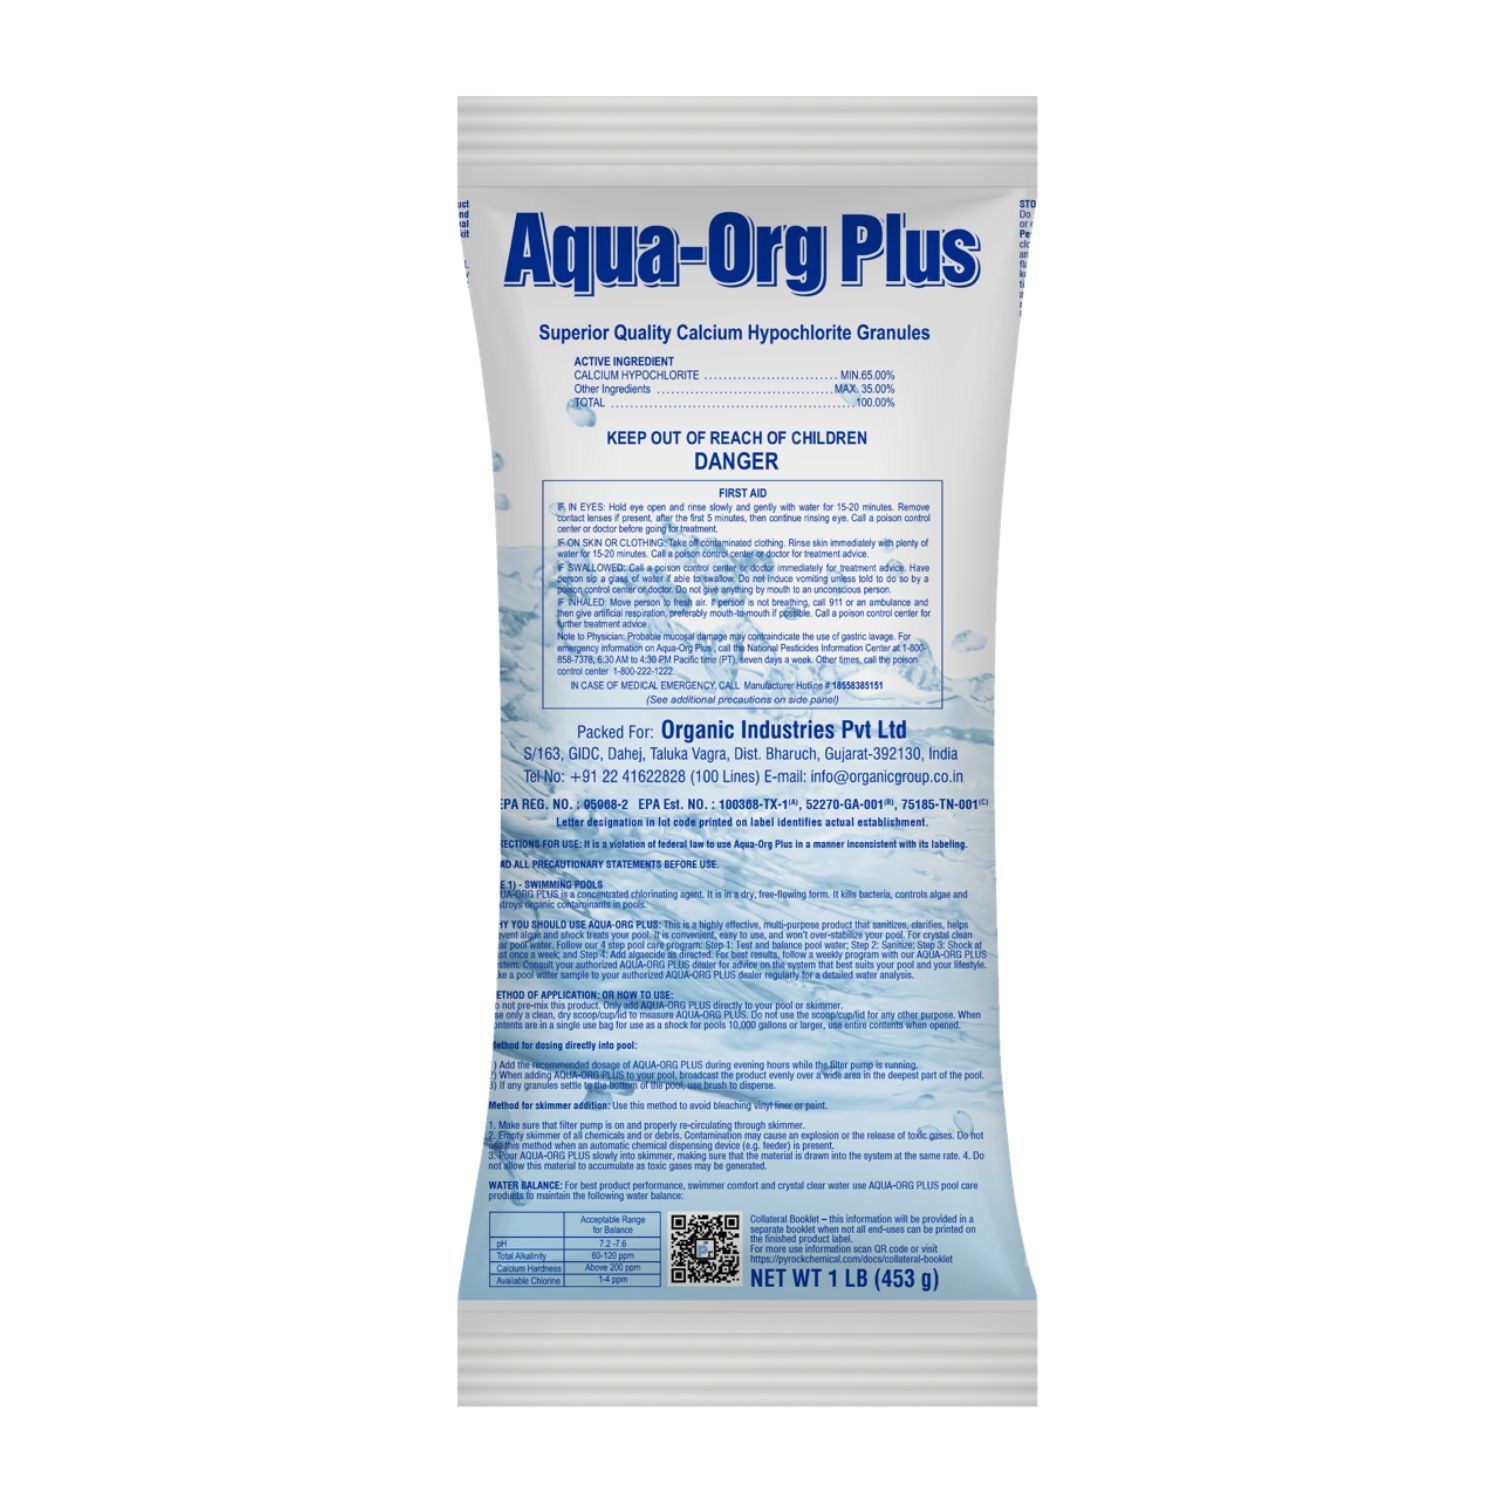
Choose a high-quality shock (like Aqua Org Plus - 65% Granular Cal Hypo), and don’t skimp: more pool = more product. Your pool pump should run a few hours post-shock to chase that treatment through all your pool lines, over the pool floor, and up the pool walls. Low chlorine? Good—you can now move to algaecide. Too early and you’ll waste both products! (And let’s be real, pool chemicals aren’t getting cheaper.)
Take it from us—a thorough shock saves you double the time (and triple the groaning) at reopening.
Step 5: Add Algaecide (After Shock)
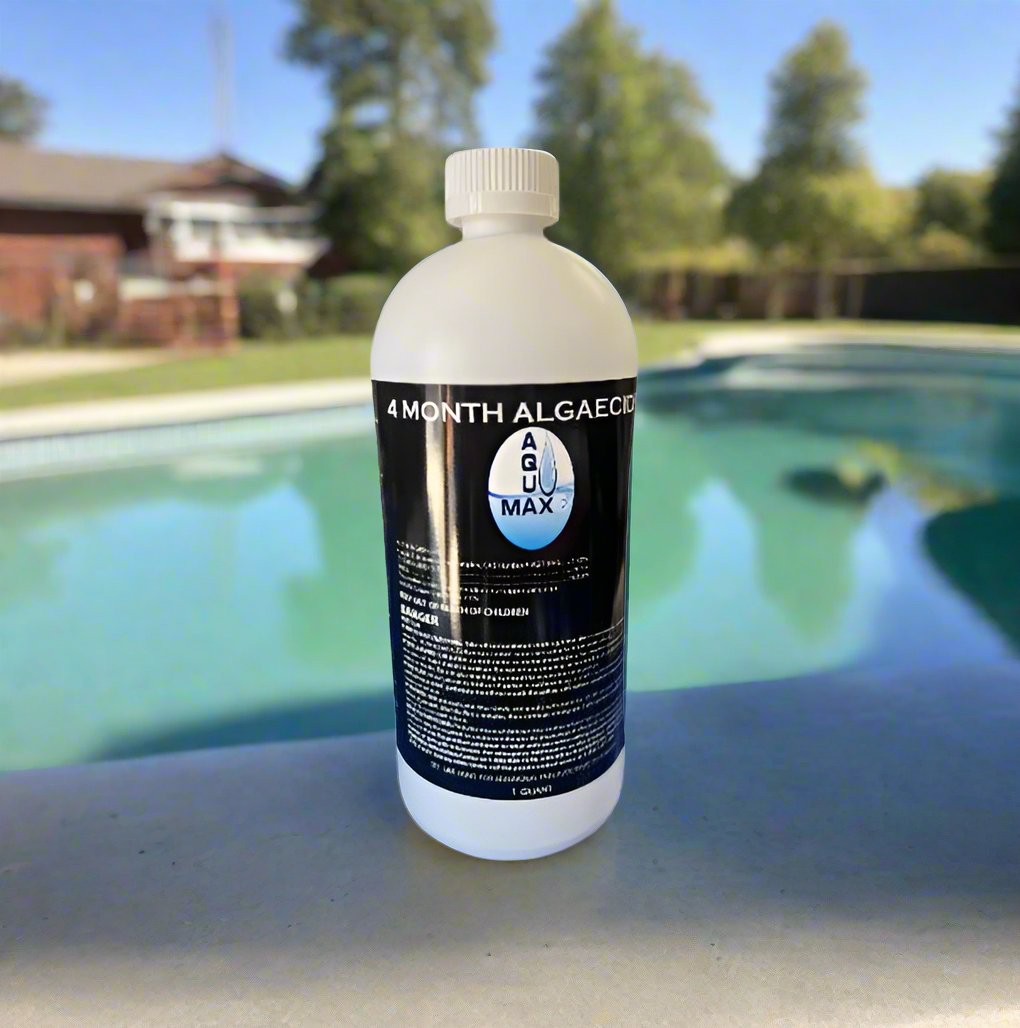
This is not just “extra credit.” There’s nothing worse than peeling back your pool cover like a gift, only to find the Grinch delivered a green pool instead of clean water.
But—and this is key—wait until your chlorine levels have dropped below 3 ppm. Early algaecide is just throwing money in the wind. Pick a winter-specific formula. Get it circulating; use your pool pump or even a long brush if that’s easier. Double-check stubborn corners, steps, and pool accessories.
Oh, and don’t gloss over this step. A little patience here means much less elbow grease later.
Step 6: Backwash Your Pool Filter
Clogged filters over winter equal headaches in spring; ask us how we know. For sand and DE filters, backwash thoroughly. Cartridge filter? Remove and rinse it clean—or better yet, soak it to really knock out summer’s grime.
Trust brands like Pentair. The maintenance is worth every penny and prevents winter clogs, damaged pool lines, and surly filter repairs.
Finish by checking every drain plug and sealing up tight. Want to open your outdoor pool without that weird musty filter smell? Don’t skip this.
Step 7: Protect Equipment & Lower Water Level
This is the part that separates the free spirits from the pool savants. Depending on your region, you’ll need a strategy that fits. If you’re staring down harsh, freezing temperatures:
- Lower your pool water below the skimmer (vinyl liners) or tile (plaster pools).
- Drain all components: pumps, heaters, chlorinators, filters—everything with a drain plug.
- Tilt to drain fully if needed—don’t forget those hidden pockets!
And please, do not try to save a few bucks by skipping pool antifreeze in the lines—it’s like playing roulette with your pool equipment.
Live somewhere the cold’s more rumor than reality? Great. Monitor water chemistry and run your pool pump occasionally—keeps things moving and discourages algae growth while protecting your investment in all those pool accessories.
Step 8: Cover Your Pool
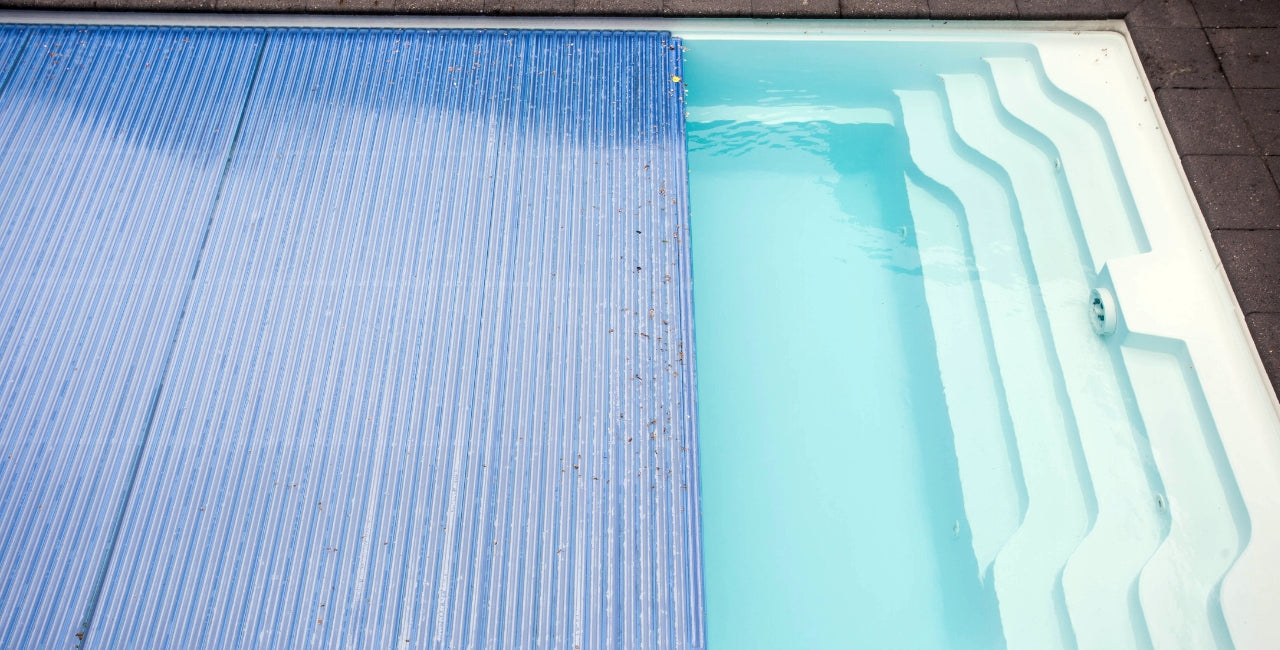
Let’s talk pool cover strategy. Not all covers are created equal. Above ground pool? In ground pool? Choices matter. Mesh covers are great for areas with lots of rain or snow—they let water through, keep sludge out. Solid covers block everything but need a pump to remove puddled rain.
No matter what you pick, secure tightly. Gaps = winter debris + spring regret. Saggy cover? Critters and twigs are coming for you.
Automatic pool covers are an investment with major payoff for bigger setups—if it’s in your budget, you’ll love one-button convenience. But most importantly, make that pool cover your line in the sand—don’t let winter win.
Step 9: Lubricate Moving Parts
Here’s a secret: your pool’s moving parts are divas. They hate cold, and a single dried-out O-ring can mean costly leaks. Before calling the job done, grab pool-grade lubricant and treat every O-ring, thread, drain plug, and valve stem you can find. Your pool pump and filter will thank you in spring.
Got custom accessories? Give them the spa treatment too; you’ll save yourself a lot of wrestling with stuck pieces later.
Step 10: Store Accessories & Chemicals Safely
Almost there! Grab those ladders, skimmer baskets, floaties, pool hoses, and stow them dry—moisture is the enemy. And let’s get real: nothing ruins a sunny May day like a rusty, moldy surprise when you unpack your pool equipment.
Pool chemicals? Keep them sealed and separated. Store in a dry, cool area, away from kids, pets, and anything metal. Regular inventory checks prevent you from finding out some mystery jug expired back in 2020, right when you need it.
Solid storage habits aren’t just about neatness: they set you up for success every single opening.
Expert Tips & Troubleshooting
Regional Considerations
Winterizing looks a bit different depending on your ZIP code. Northern states? Get serious about removing every drop from your pool lines, pump in the pool antifreeze, and check every drain plug twice. Southern states? Your main battle is lazy chemistry and sneaky debris—monthly checks and a little pool pump time go a long way. One of our clients in Texas swears by a weekly leaf check; in Maine, it’s all about plugging every line.
Shop Pool Essentials at Pool Depo
At the end of the day, closing your above ground pool or inground pool should feel like checking off “peace of mind” on your winter prep list. And if you need winter pool chemicals, or the kind of pool equipment that makes life easier, you might as well go with a store that knows its stuff.
At Pool Depo, we’re here to make winter pool prep a breeze. Even if you’re not into hunting for the trendiest gadgets, rest assured you’ll find practical advice, detailed guides, and smart strategies tailored for every kind of swimming pool—from in ground pools to trusty above ground pools. And if ever you hit a snag with your pool equipment or aren’t sure which winter pool chemicals or pool cover fit your setup, don’t hesitate to reach out. Our experienced team is always happy to walk you through your options or talk shop about the finer points of protecting your pool water, pool lines, and favorite pool accessories all season long.
Take winterizing seriously, but don’t stress—we’re all about making it easy so your spring opening feels like a true grand reopening. And hey, after all this, you deserve that first swim in sparkling, problem-free pool water.